When you’re handling ball valves, one of the most critical components is the ball valve bonnet. Correct assembly ensures safety, prevents leaks, and maintains the efficiency of your system. This guide walks you through the process step by step, highlighting best practices, common mistakes, and tips to keep your valves performing optimally. Whether you’re a seasoned technician or managing a team of installers, understanding proper bonnet assembly is essential for reliable operation.
Understanding the Ball Valve Bonnet
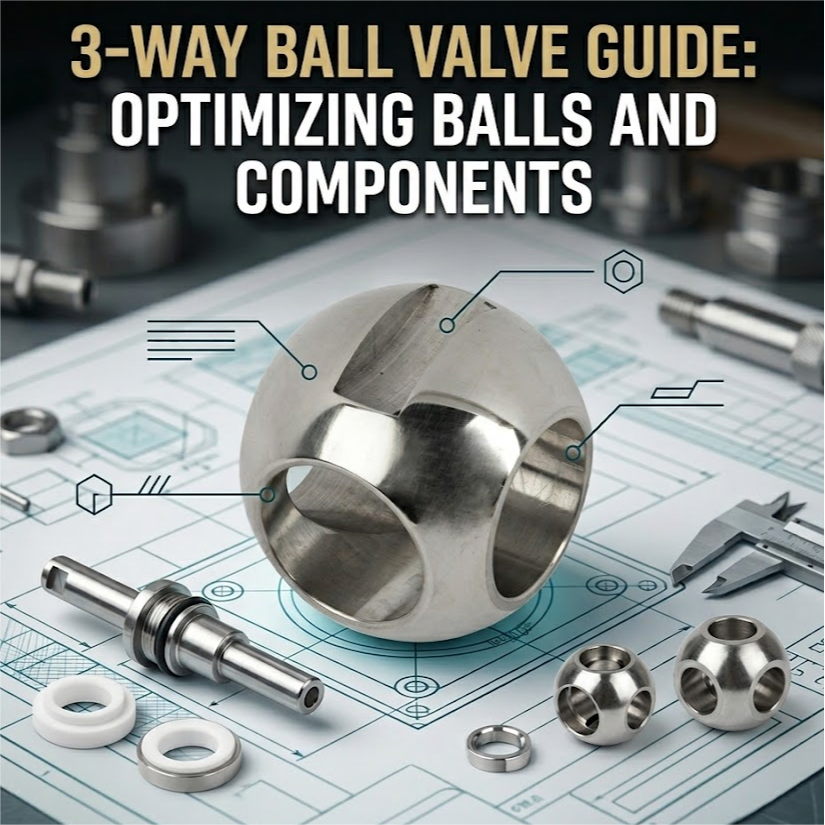
Before diving into assembly, it’s important to know what a ball valve bonnet does. The bonnet covers the valve’s internal components, including the stem, seals, and ball. It provides pressure containment and allows for maintenance access.
Key Functions of the Bonnet
Protects internal components from debris and corrosion
Maintains system pressure and prevents leaks
Provides structural support for the stem and actuator
Ensures proper alignment of the ball for smooth operation
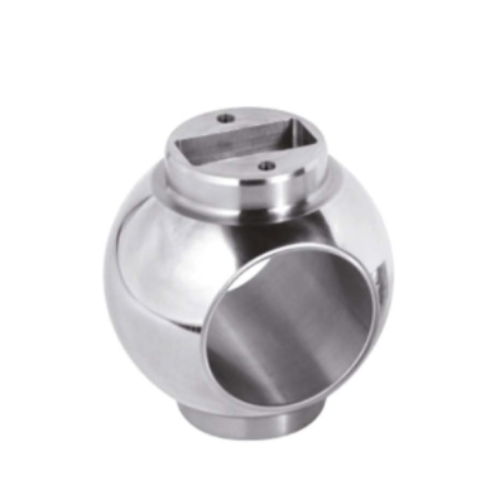
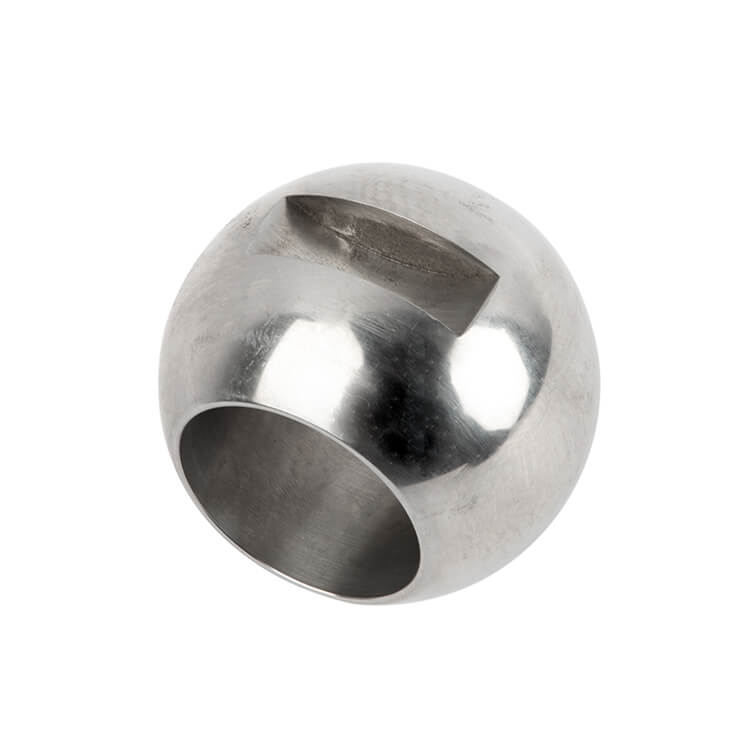
Bonnet 1
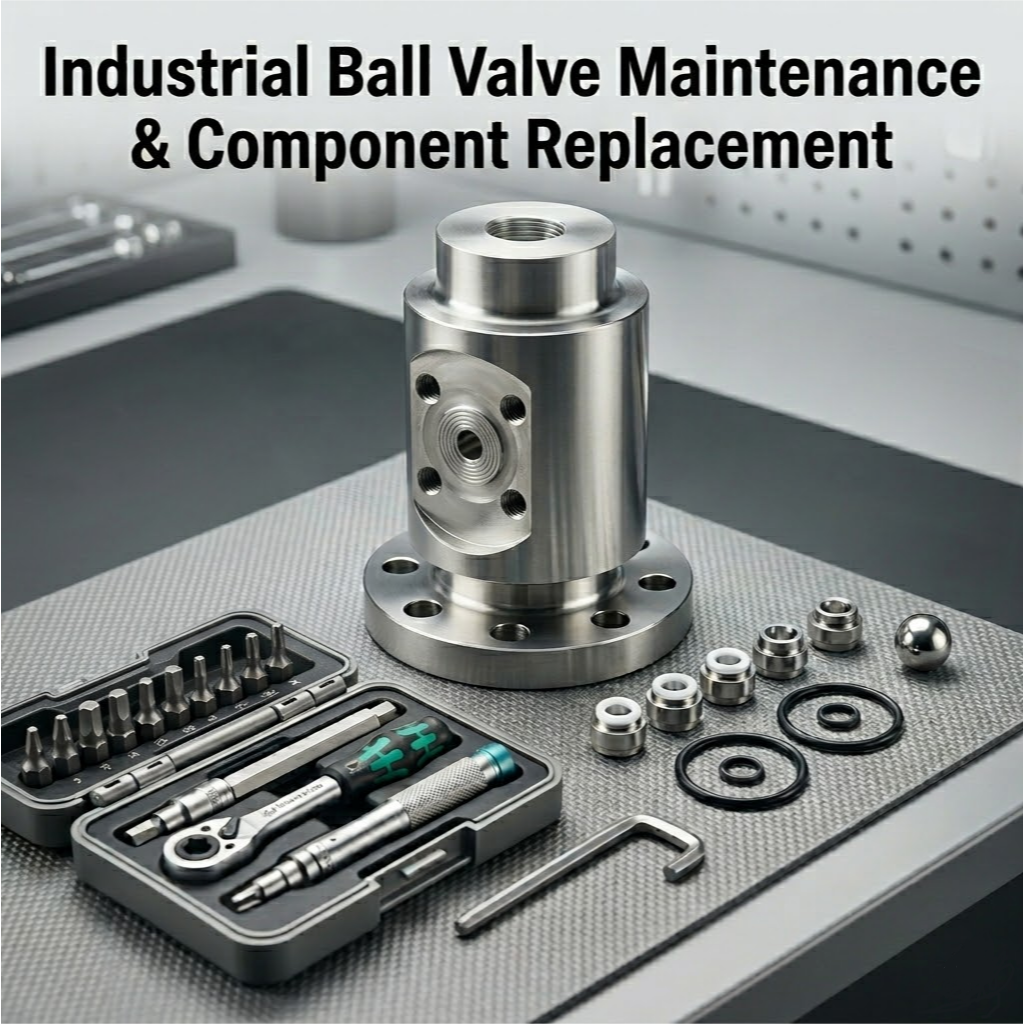
Tools and Materials Needed
Before you start, gather the essential tools:
Torque wrench for accurate tightening
Screwdrivers and Allen keys
Lubricant suitable for your valve type
Replacement gaskets and O-rings
Clean rags or lint-free cloths
Having all tools ready ensures a smooth assembly process and prevents mistakes caused by improvising mid-way.
Step-by-Step Guide to Assembling a Ball Valve Bonnet Safely and Efficiently
Step 1: Inspect Components Carefully
Always begin by inspecting every part of the ball valve bonnet. Look for:
Surface damage, scratches, or corrosion
Correct sizing and compatibility
Cleanliness of the ball and seals
A clean, damage-free component is essential. Even minor imperfections can cause leaks or operational issues later.
Pro Tip: Keep a checklist handy for each component to ensure nothing is overlooked.
Step 2: Assemble Internal Seals and O-Rings
Proper placement of seals is critical for leak-free performance.
Tips for Seals:
Use a small amount of recommended lubricant to help slide seals into place
Avoid stretching O-rings beyond their intended dimensions
Check alignment to ensure the ball rotates smoothly
Case Example: A chemical processing plant in Japan reported recurring leaks. After adjusting the O-ring installation as per GotebBall guidelines, the valves maintained perfect sealing under high-pressure conditions.
Step 3: Position the Ball Correctly
The ball must sit precisely in the valve body before securing the bonnet. Misalignment can cause friction, leakage, or operational failure.
Ensure the ball’s bore aligns with the pipeline flow
Rotate the ball slightly to seat it properly before tightening
Avoid excessive force that can damage the ball or stem
Align bolt holes accurately to avoid cross-threading
Insert bolts evenly and finger-tighten first
Check that the stem and actuator can move freely
Pro Tip: Tighten bolts gradually in a crisscross pattern to distribute pressure evenly.
Step 5: Torque the Bolts to Specification
Correct torque ensures the bonnet seals without overstressing components.
Use a calibrated torque wrench
Follow manufacturer specifications precisely
Recheck torque after initial assembly
Case Example: A South Korean refinery improved valve longevity by standardizing torque procedures for all GotebBall valves, reducing maintenance costs by 20%.
Perform a leak test with the recommended fluid to confirm that the assembly is correct.
Step 7: Final Inspection and Documentation
Before putting the valve into service:
Double-check all bolts and fasteners
Ensure all gaskets and seals are properly seated
Record the assembly process and torque values for maintenance logs
Documentation helps track issues and improves repeatability for future installations.
Common Mistakes to Avoid
Skipping inspection of components
Misplacing O-rings or seals
Over-tightening or under-tightening bolts
Neglecting lubrication
Ignoring proper alignment of the ball and stem
Avoiding these mistakes ensures longer valve life and reduces operational risks.
FAQs
Q: How often should a ball valve bonnet be disassembled for inspection?
Typically once a year or as recommended by operational conditions. High-pressure or corrosive applications may require more frequent checks.
Q: Can I reuse old gaskets and O-rings?
No, always use new seals to ensure leak-free performance.
Q: What lubricant is suitable for ball valve assembly?
Use lubricants recommended by the valve manufacturer; avoid petroleum-based products if handling chemicals.
Q: How do I know if the torque is correct?
Follow the specifications provided by the manufacturer (GotebBall) and use a calibrated torque wrench.
Q: Can a bonnet be assembled incorrectly without obvious signs?
Yes, minor misalignment or missing seals may not be immediately visible but can cause leaks or damage over time.
Conclusion
Assembling a ball valve bonnet safely and efficiently requires careful attention to detail, proper tools, and adherence to manufacturer guidelines. Following this step-by-step guide ensures leak-free, reliable operation while reducing maintenance costs. Partner with GotebBall for expert guidance and high-quality components that make your valve assembly smooth, safe, and long-lasting. Take action today and implement these best practices to protect your systems and investment.


 Optimized by Seraphinite Accelerator