Even the highest-precision ball valve components will fail if they are forced into a pipeline incorrectly. Many instances of premature ball valve leakage are not caused by manufacturing defects, but by subtle mistakes made during field assembly. This guide highlights the most frequent installation errors that warp, crack, or destroy critical components of a ball valve, helping your business protect its hardware investment and ensure a zero-leak start-up.

Picture trying to force a square peg into a round hole. That is exactly what happens when your field team tries to bolt a valve into a pipeline where the flanking pipes do not line up straight. If the pipes are crooked, forcing the bolts tight will bend the valve.
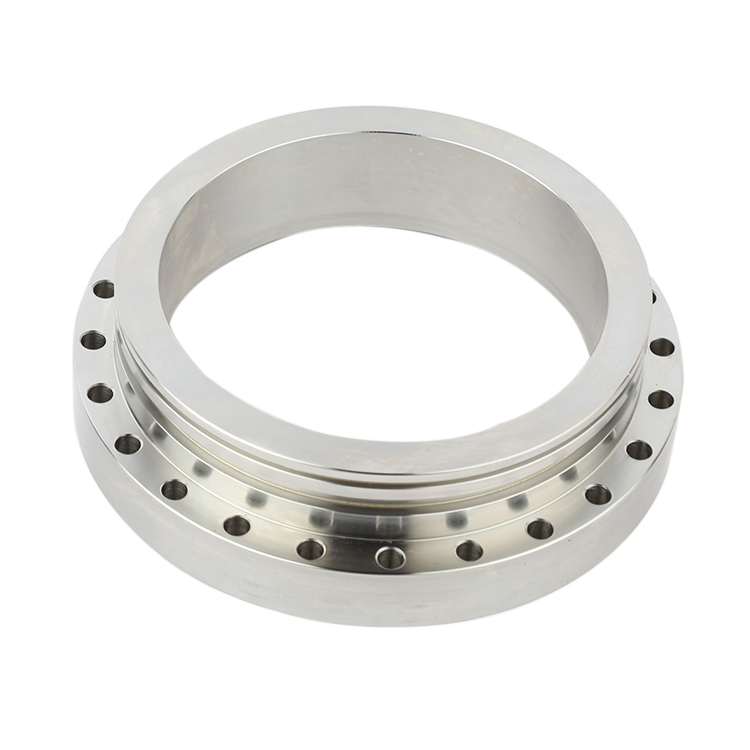
The Structural Twist: When pipe flanges are uneven, tightening the bolts creates a massive, uneven pulling force. This force twists the Ball Valve Body, throwing its internal pathways out of square.
Seat Pocket Warping: Inside the valve, everything relies on micro-tolerances. If the outer shell flexes by even a fraction of a millimeter, the circular pockets holding the ball valve seat warp into slight ovals. This breaks the smooth, tight contact with the sphere, leaving an immediate path for fluid bypass.
The Gasket Trap: Misalignment also means the flange gaskets will get pinched unevenly. One side gets crushed to death while the other side sits loose, creating a double risk of both internal leaks and external blowouts.
The Preventative Check: Always check flange alignment before the valve ever touches the pipe. A good rule of thumb is to ensure you can pass the flange bolts through the holes entirely by hand. If you need a hammer or a crowbar to force a bolt through, your pipes are misaligned.
When a pipeline is being built, the inside of the pipe is a dirty place. It is full of loose rust, metal shavings, sand, and worse—hard welding slag. If you do not clean the line before turning the valve, you are essentially throwing a handful of gravel into a delicate machine.
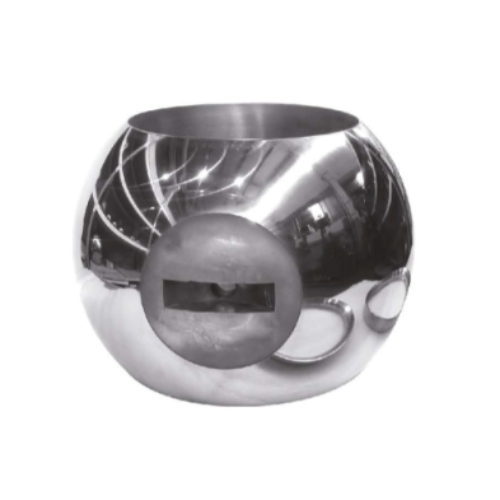
The Sandpaper Effect: When a welder joins two pipes right next to a valve, tiny, white-hot drops of metal splatter inside the pipe. These hard beads can fly into the valve cavity and stick to the mirror-smooth surface of the internal sphere valve.
The First Cycle Tear: The real disaster happens during commissioning. The valve looks fine from the outside. But the moment an operator turns the handle for the first time, the sphere rotates and drags that hard, crusty welding slag right across the soft seal face. It acts like a razor blade, gouging deep lines into the polymer or even ruining a high-precision Metal Seated Valve Ball and Seat set.
Trapped in the Pockets: Debris does not just scratch surfaces; it gets packed into the dead zones. In a spring-loaded seat system, fine grit can slip behind the seat ring, jamming the springs. Once those springs are locked up with dirt, they can no longer push the seat against the ball, guaranteeing constant ball valve leakage.
Flushing Protocols: To save your seals, always keep the valve in the 100% fully open position during any line flushing. Never flush a pipeline with a valve partially closed. As explained in our guide on how bore size impacts ball and seat wear, restricting the flow path concentrates the dirty jet stream right onto the sealing faces, compounding erosion.
It is a common sight on the job site: a flange joint has a tiny drip, so a technician grabs a massive wrench, puts all their weight on it, and cranks the bolts down as hard as humanly possible. While they might stop the flange leak, they often kill the ball valve parts and function inside.
Crushing the Insides: A valve body is tough, but it is not indestructible. Over-tightening the outer flange bolts transfers an incredible amount of compressive stress straight through the body and into the internal sealing rings. It literally pinches the inner mechanisms too hard.
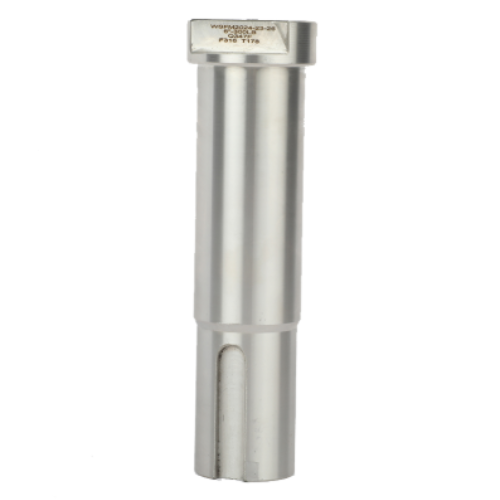
The Torque Spike: When you squeeze the seats too tightly against the sphere, the friction skyrockets. Suddenly, the valve becomes incredibly stiff to turn. If you have an automated actuator mounted on top, it might stall out. If you are turning it by hand, you risk putting so much force on the lever that you twist or snap the ball valve stem.
Cold Flow Ruin: For soft seats like PTFE, excessive, uneven squeezing causes the plastic to flow like cold butter. The seat material physically squeezes out of its machined pocket and deforms into the flow path. Understanding the limits of your material—by reviewing the different types of ball valve seats—is critical to preventing this permanent deformation under heavy bolting loads.
The Star Pattern: To avoid this nightmare, ditch the giant breaker bars and use a calibrated torque wrench. Tighten the bolts in small increments using a traditional crisscross star pattern. This ensures the valve body takes the load evenly from all sides without distorting the internal components.
Welding a valve directly into a pipeline using socket welds or butt welds is a great way to eliminate leaky flange joints. But it introduces a massive danger: intense, blistering heat. A welding torch easily reaches temperatures over 1000℃, and metal is an excellent heat conductor.
The Heat Bleed: As the welder lays down a bead of metal on the valve neck, the heat travels rapidly through the steel body. Within minutes, the internal seat pockets can reach temperatures well above 300℃.
Melting the Seals: Most standard industrial valves rely on soft plastic or rubber seals to get a bubble-tight shutoff. These materials melt, blister, or warp at high temperatures. If the heat gets too high, your brand-new soft seats will literally bake and shrivel inside the valve body, destroying their ability to hold pressure before the valve even sees its first drop of process fluid.
Body Distortion: It is not just the plastic that suffers. Extreme, localized heat on just one side of a valve can cause the metal body casting to expand unevenly. When the metal cools down, it can set into a slightly warped shape, permanently ruining the alignment of the internal ball valve components.
The Heat Sink Trick: If you are installing a soft-seated valve via welding, you must either disassemble the valve entirely and remove the soft guts before striking an arc, or use professional heat-sinking wraps and wet rags around the body to draw the dangerous heat away from the internal seals.
During the construction phase of a pipeline, valves are often left half-open or “cracked” by accident. Field teams do this thinking it allows air or pressure to vent safely, but leaving a ball valve in a semi-open position during dirty installation phases is an open invitation for early failure.
The Nozzle Effect: When a valve is only partially open, the pathway for fluid is restricted to a narrow, sharp crescent shape. If the construction crew runs a cleaning flush through the line, the fluid velocity suddenly spikes as it squeezes through this tiny opening, acting exactly like a high-pressure pressure washer nozzle.
Targeted Erosion: This high-speed jet concentrates all the loose pipe scale and abrasive grit directly onto a single, localized spot on the downstream seat face and the side of the sphere. Instead of the wear being distributed evenly, it carves a deep notch into the sealing edge, ensuring the valve will leak the very first time it is fully closed.
Pocket Packing: A half-open ball creates deep, stagnant pockets inside the valve body cavity. Gravity takes over, and heavy construction debris settles into these low spots. When you finally try to close the valve completely, the ball hits this packed wall of dirt, blocking full travel and preventing the valve from reaching its true closed position.
Before looking at thermal risks, use this quick scorecard to see how common field mistakes directly trigger component degradation.
| Installation Error | Primary Component At Risk | Main Failure Mode | Prevention Method |
| Pipeline Misalignment | Ball Valve Body & Seat Pockets | Shell distortion leading to early internal bypass | Check flange parallelism before bolt tightening |
| Leftover Welding Slag | Sphere Valve & Sealing Faces | Micro-scratches and gouges on soft/metal seats | Flush the entire pipeline in 100% open position |
| Over-Torquing Bolts | Ball Valve Stem & Seat Rings | Cold flow of polymer; extreme handle torque spikes | Use calibrated torque wrench with star-pattern |
| Excessive Welding Heat | Soft-Seated Seals & O-Rings | Thermal melting, blistering, and seal shrinkage | Remove internal parts or use professional heat sinks |
| Partially Open Flushing | Downstream Seat Edge | Localized high-velocity erosion and scale packing | Keep valve fully open or closed; never halfway |
Why is my brand new ball valve leaking internally right after installation?
The most likely causes are internal seat damage from welding slag or body distortion from unaligned pipeline piping.
Can over-tightening flange bolts cause a ball valve stem to snap?
Yes. Over-tightening can warp the body shell, pinning the ball tightly against the seats and overloading the stem during rotation.
Do I need to disassemble a ball valve before welding it into the line?
Generally yes for soft-seated valves, as the intense welding heat will melt or permanently deform the polymer seats.
How does line debris impact a high-precision metal seated valve ball and seat?
While tougher than soft seats, hard welding slag can still scratch the precision-lapped surfaces, creating micro-channels for fluid bypass.
Achieving long-term, zero-leak performance depends entirely on the first few hours a valve spends in the field. Avoiding these five critical assembly mistakes protects your ball valve components from unnecessary mechanical stress and thermal shock. Contact GOTEB today to talk with our technical team about installation specs or to source high-precision replacement sets built for heavy industrial environments.
 Optimized by Seraphinite Accelerator